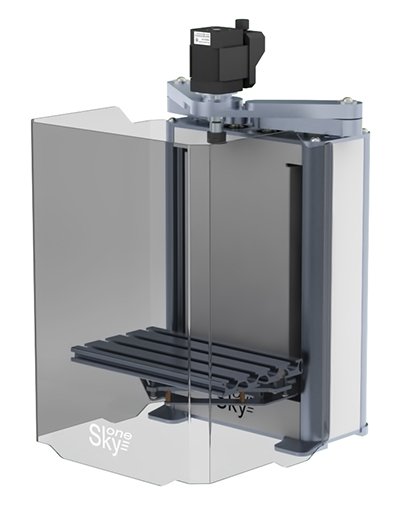
Preparing and start of three-dimensional milling with 3D printer SkyOne
Work piece dimensions and position
Standard fixing elements, which are supplied complete with milling and engraving set, are suitable for fixing of a detail height up to 5 mm.
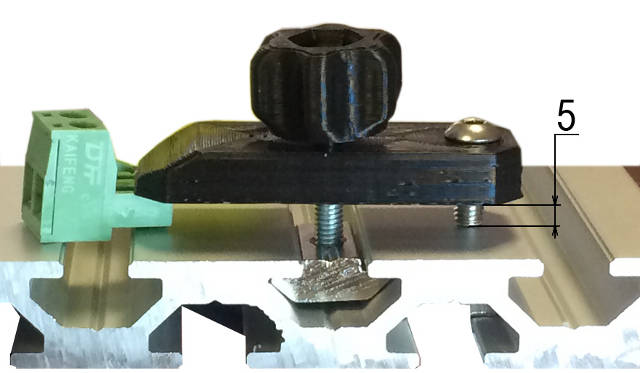
In case if a work piece height is more, than 5 mm, it is necessary to replace fixing screws by longer. Any way, the fixing screws should not rise above the top edge of thumb-nuts. Otherwise, a printer's lever can be hurted by these screws.


Fastening elements are used to fix a work piece on the table of a printer. If work piece dimensions (along any of axises X or Y) are close to dimensions of a 3D model, it is necessary to fix material on the table as close to the determined in BlenderCAM position as it possible. In other cases a milling picture may miss the limits of the work piece.
When place the workpiece on the table, take into account, that 0 of the Y axis of 3D printer SkyOne is located aproximately 5 mm from it's "home" position (it is position when the printer is turned off).
0 of the X axis is located at the center of the table, 0 of the Y axis is located at the table edge from the printer's side - about 0.5 cm apart from home position (when the printer is turned off, levers drives the tool to the home position).
Printer settings
Important! Because of a difference between height of a tabe for printing and milling, a height of a work piece and length of a milling tool, it is necessary to set new origin (0 coordinate) along Z axis. To set a new origin, it is necessary to proceed as follows:
- Turn the printer on and establish a connection in Repetier Host.
- Load the ready file with G-code.
- Make sure that the tool path is located correctly:

- Open the tab "Manual control".
- Make sure that nothing can hinder rotation of a spindle.
- Start a spindle motor - turn on the extruder. Set the maximum temperature of the extruder.
- Move the table with the work piece to a safe distance in order to prevent an impact of the cutter and the table. To do it type in the command G1 Z50 into the field G-codes. If the height of a work piece is more, than 6-10 mm, this value along Z axis should be more (see at the place).
- Move the cutter tool along Y axis about 30-40 mm so as the cutter center would be located above the surface of processed material. The command is G1 Y40.
- Lift the table little by little, until the cutter end (it should rotate) nearly touches the surface of the workpiece. Enter commands one by one with Z coordinate reduction: G1 Z39, G1 Z38 and so on. Enter fractional numbers if need - G1 Z38.5. Control the position of the cutter end all the time.
- As the top surface of the material nearly touched the end of the cutter, set the new origin of Z axis. To do it enter the command G92 Z0 (assign zero position along Z axis).
Attention!!! Don't forget to enter the command G92 Z0.
If the command G92 Z0 is not entered, it can lead to equipment failure and may cause serious injury! - In case if the G-code contains the first path at high deep and all the cutter thickness, it is recommended to reduce move speed (feedrate) to the minimum for the first pass.
- Launch the printing and wait for finish. If necessary, increase feedrate value during cutting in order to decrease milling time.
See also: