This story was given us by one of our customers.
***
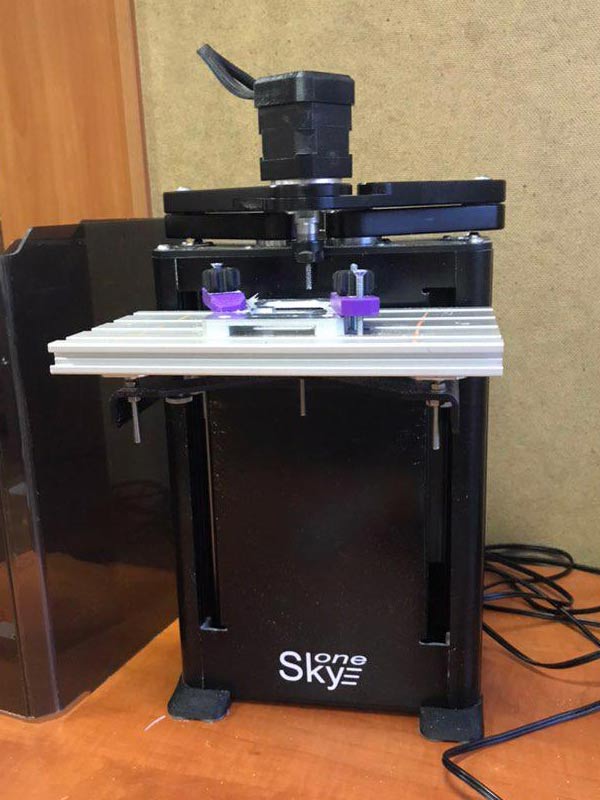
As a foreword - about the middle of this October they gave an individual 3D printer to my workplace. But there was one condition - i had to learn 3D milling with this device in order to use it for work-related purposes in future. So now i have got a printer SkyOne with engraving and milling set at my table.
From the manufacturer's information we know, that 3D printer SkyOne can print, engrave and mill soft materials. As it turned out, it also can mill not very soft materials (we tried aluminium). We tried to mill soft materials (such as wood and plastic) some time ago. But i had got a task to try to mill a metal part. In the course of the experiment a detail was milled from an aluminium plate 3 mm thick. As a workpiece an old aluminium part 3 mm thick with both sides supports was used.
The cutter is usual end cylinder, but the manufacturer of the cutter informed us, that it is suitable for aluminium (as i knew later, it is not exactly so). I was advised many times not to ratten the printer by using it in this way and to use a usual milling cnc machine for milling. But i could answer - the printer is not my personal, it was a task from my chief. And we don't have "a usual cnc milling machine" at work (as we hardly have such a need). So i started this experiment with a great relish and intended to find out performance limitations of this printer.
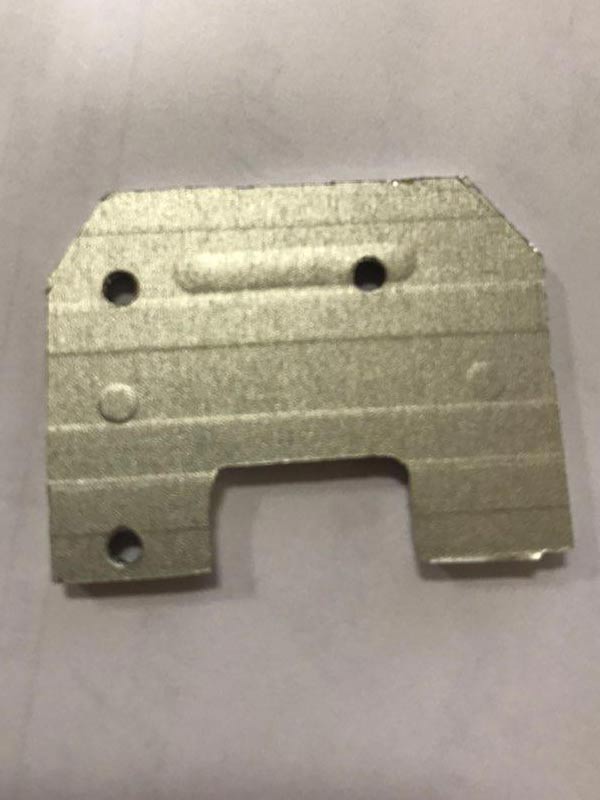
The model for milling - a bracket 3x4 cm, with holes.
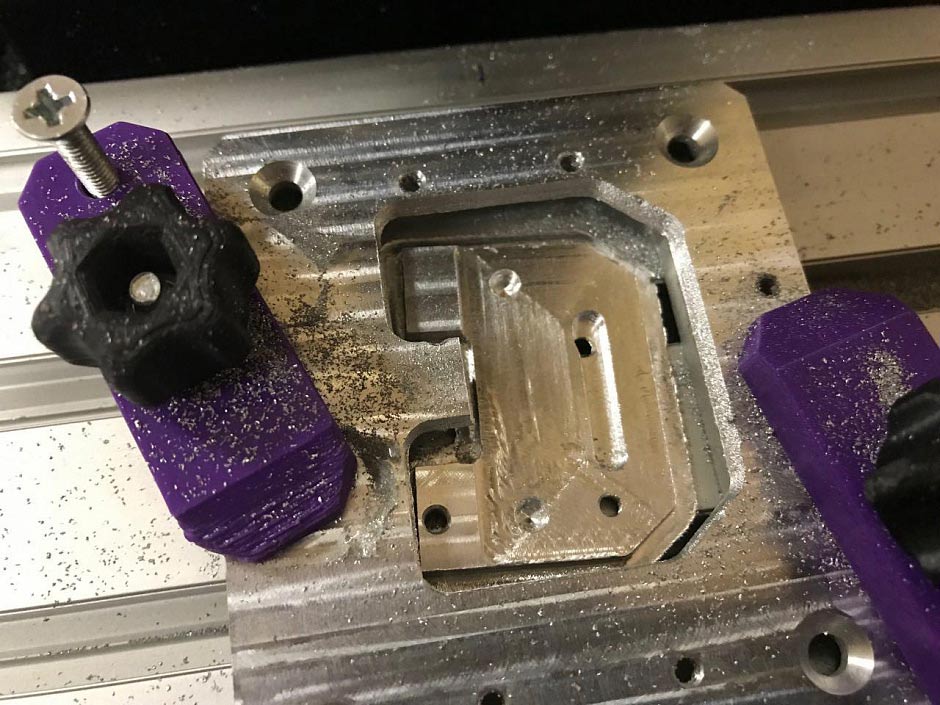
As the workpiece has holes, it is needed to place the model exactly to measurements and between the holes, otherwise these holes could corrupt the contour of the detail. So the first pass was executed in the air above the workpiece - to be sure, that the model and workpiece are placed correctly in BlenderCam (soft, which is used to calculate a toolpath). As the detail has 2 height levels along Z axis (thicknesses of the detail are 2 mm and 3 mm), i cut a flat level surface 1 mm as a first operation. From the beginning i started with layer height 0.25 mm. And inequality of the surface quality appeared at once - a part of the surface, which is close to 0 point along Y axis, is smooth and even close. But parts, which are closer to the edge of the table, are ribby, inequality is visible. Strong vibrations appeared during milling at the edge side of the detail. So for the last two passes i changed the layers' height. The last layer height is 0.1 mm - it turned much more smooth and even, But approximately from the middle to the edge of table the difference of the surface quality is noticeable.
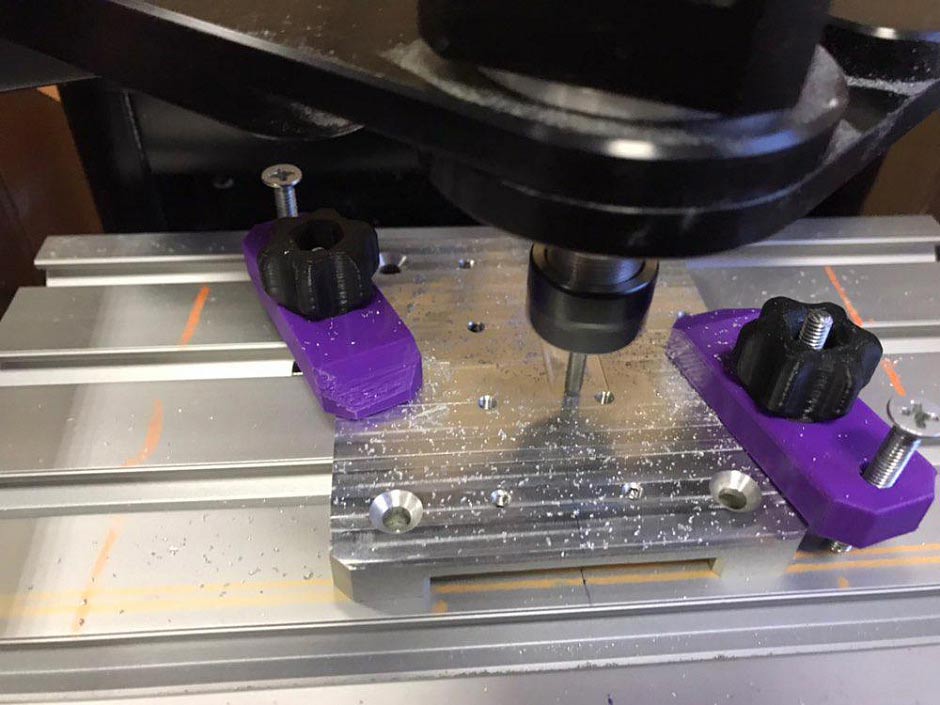
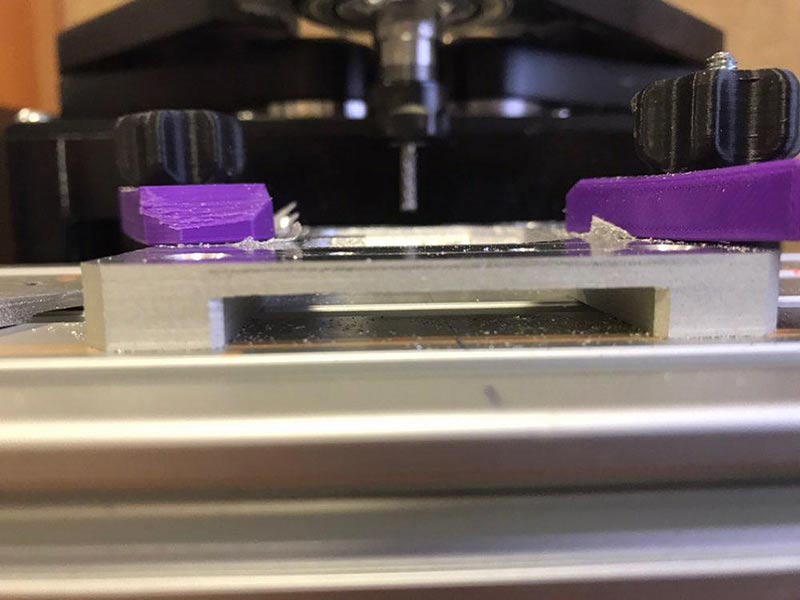
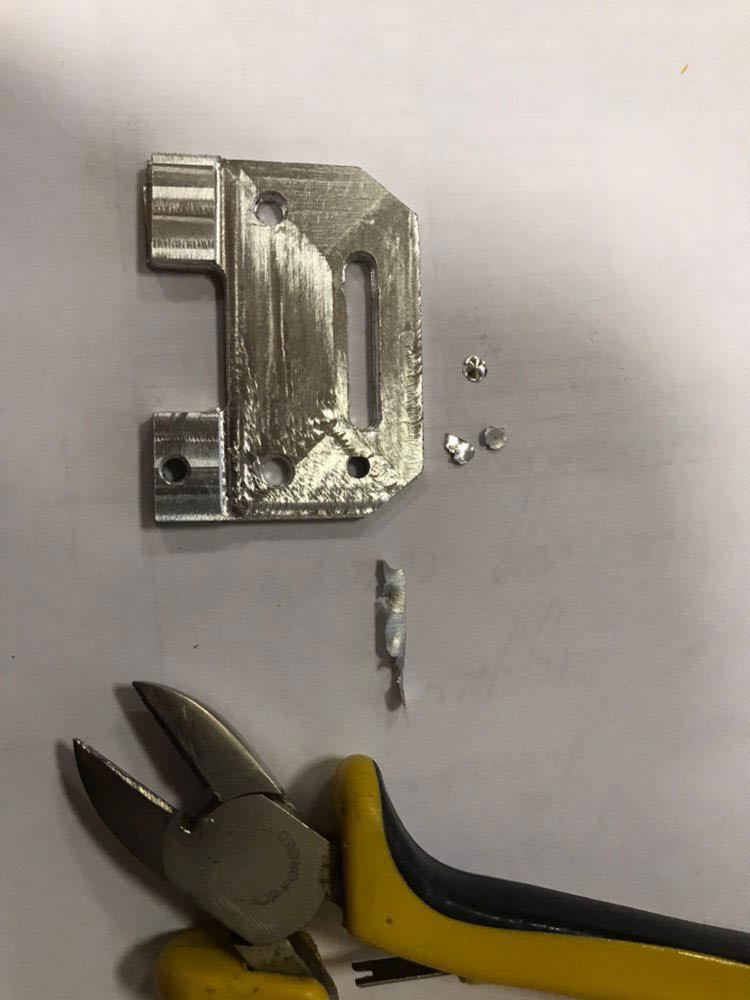
G-code was prepared in BlenderCAM. For cutting of 1 mm surface the Pocket strategy was used. Then a separate file with G-code to cut the outline was prepared using Profile (Cutout) strategy. This time all layers were cut 0.1 mm, with enlarged layers number and higher cutting speed. As a result - it was proceeded faster and softer. All operations took about one hour. But i had to add 4 additional passes (in a separate g-code file), as the detail from a workpiece 3 mm height was ready not in 30 passes per 0.1 mm, but in 34. As it is clear from the photo, the material of the workpiece (the last thin layer) is sagged under the pressure of the cutter. If this additional 4 passes were not need, it took only 40 minutes to cut the detail.
Now i can mention some my mistakes, which were admited during this experiment:
1. The cutter type, which i used, is not suitable for aluminium.
2. Cutting speed was too high.
3. Layer 0.25 mm is too thick, the height should be 0.1 mm or less.
4. It would be better to leave bridges, which should be cut at the last moment. In my experiment the contour of the detail was cut earlier than holes. The last thin layer of the material is bended under the cutter pressure - like a foil. So the ready detail came out with not finished holes. But it was fixed easily using a hand tool.
5. The workpiece was not good for such milling, it would be better to has a flat plate without side supports.
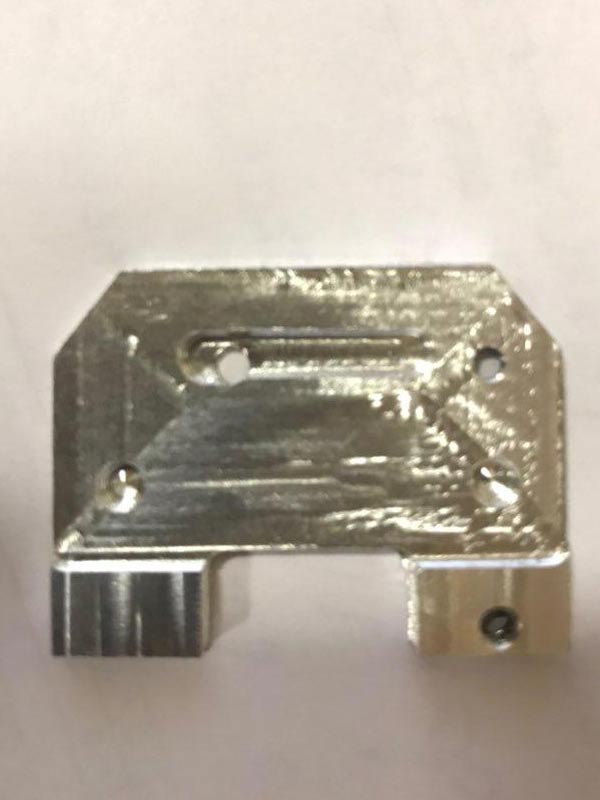
As a conclision, the auminium detail was miled quite quickly. But if we will have a need to mill aluminium detail one more time, the speed of the final pass should be set less, so the surface would be smoother. And bridges should be added, so the contour will not get separate before its due time.
In my personal opinion - the cnc machine SkyOne is a power beast. Little casual works even with metal can be done easily. But i wouldn't like to use it as a milling machine often because of noiseness of such work. I think, it should be comfortable and quite environment in an office (or at home, if SkyOne is used as a home printer). Groaning of cutting metal is not so pleasant.