Main ›
Articles
›
3D printing of a nozzle for construction dust removal
3D printing of a nozzle for construction dust removal - design and manufacturing process
Drills and hammer drills are very popular and the most in-demand tools now. These tools are universal gentleman's sets for a wide variety of tasks - from a full flat renovation to a minute routine work, as an example, drilling a hole to put up a picture on a wall. So there is a plenty work to make home cosiness and comfortable. But the dust will be an inherent companion. How to avoid it?
3D printer SkyOne goes to the rescue. There is a simple and elegant solution - a special nozzle for a vacuum cleaner. Now the work became a bit easier.
And now let's see detailed how to implement this usefull accessory
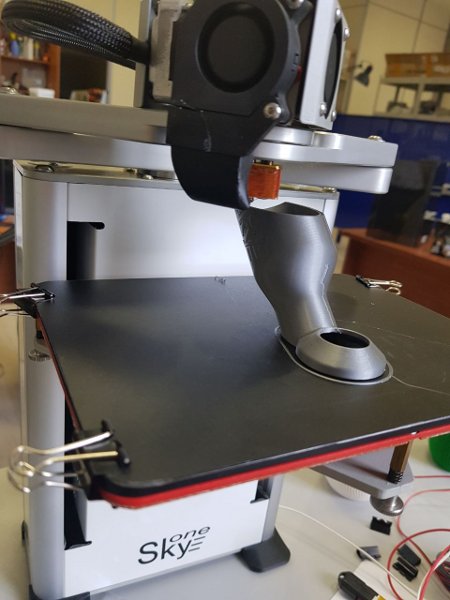
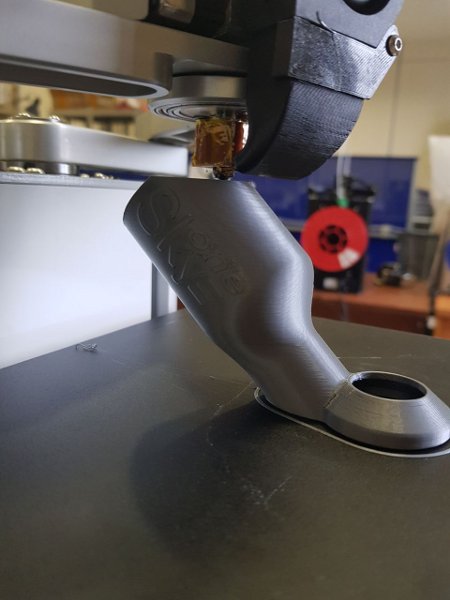
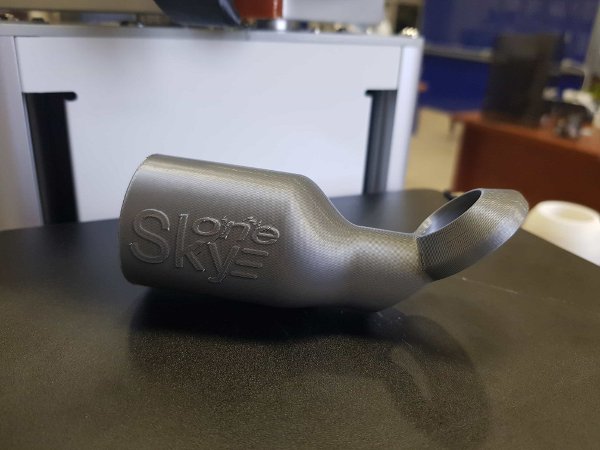
Flat renovation - how many new ideas it creates. One day it was a time to hang on a shelf in a ready clean room. Plaster and cement kiln dust was highly undesirable. So it was decided to use a spesial nozzle for a vacuum cleaner, which will help to make holes drilling process dustless. Take a computer, sketch a model and launch 3D printing process on SkyOne. In an hour we have a ready stuff.
After the first shelf we are almost satisfied with the accessory. Why "almost"? Because it is not easy to keep the drill in one hand and the accessory in another hand. The accessory should remain fixed on a wall by itself. So the surface should be bigger to let it stick to the wall.
Let's calculate, what size it should be. The vacuum cleaner, which is used for construction work, can produce underpressure 16kPa, but it is on condition of a zero air flow according the datasheet. We will limit the flow just partly and will make a diameter of the suction nozzle 20 mm. For such reduction we can expect about 6kPa underpressure. If we use more preffered units - it is 0.0612 kg/cm2 (1 Pa = 0.0000102 kg/cm2). Attracting force 2 kg will be enough to stick the nozzle to a wall firmly and not to damage wall cladding. As a result, it is necessary to have a suction surface no less than 32 cm2. This calculation is just estimate and not precise. But we will drive the model through a flow solver application later. It is much more easier and fast compared to hand calculation from scratch. So we are back to modeling. The model was designed as to be printed without any supports.
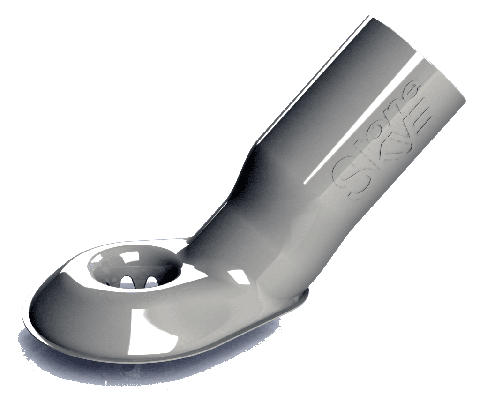
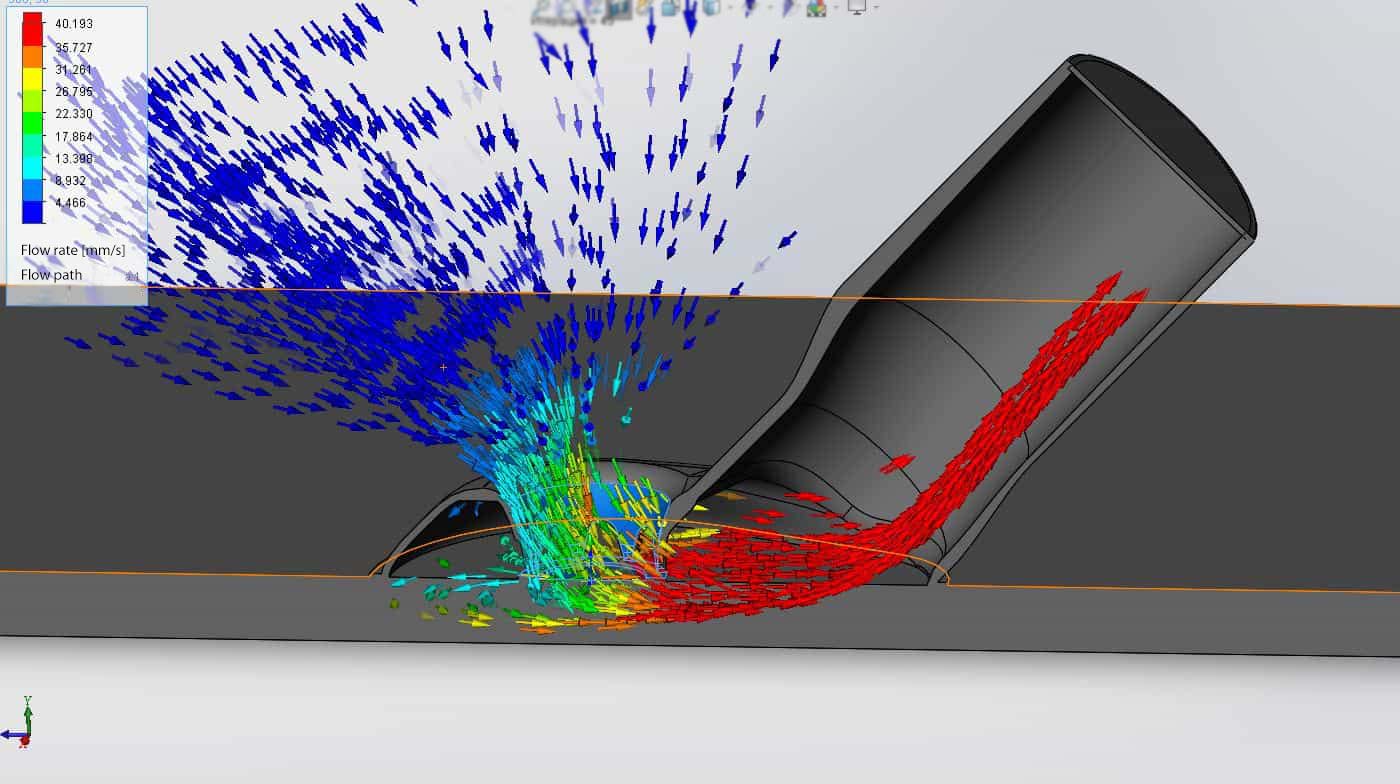
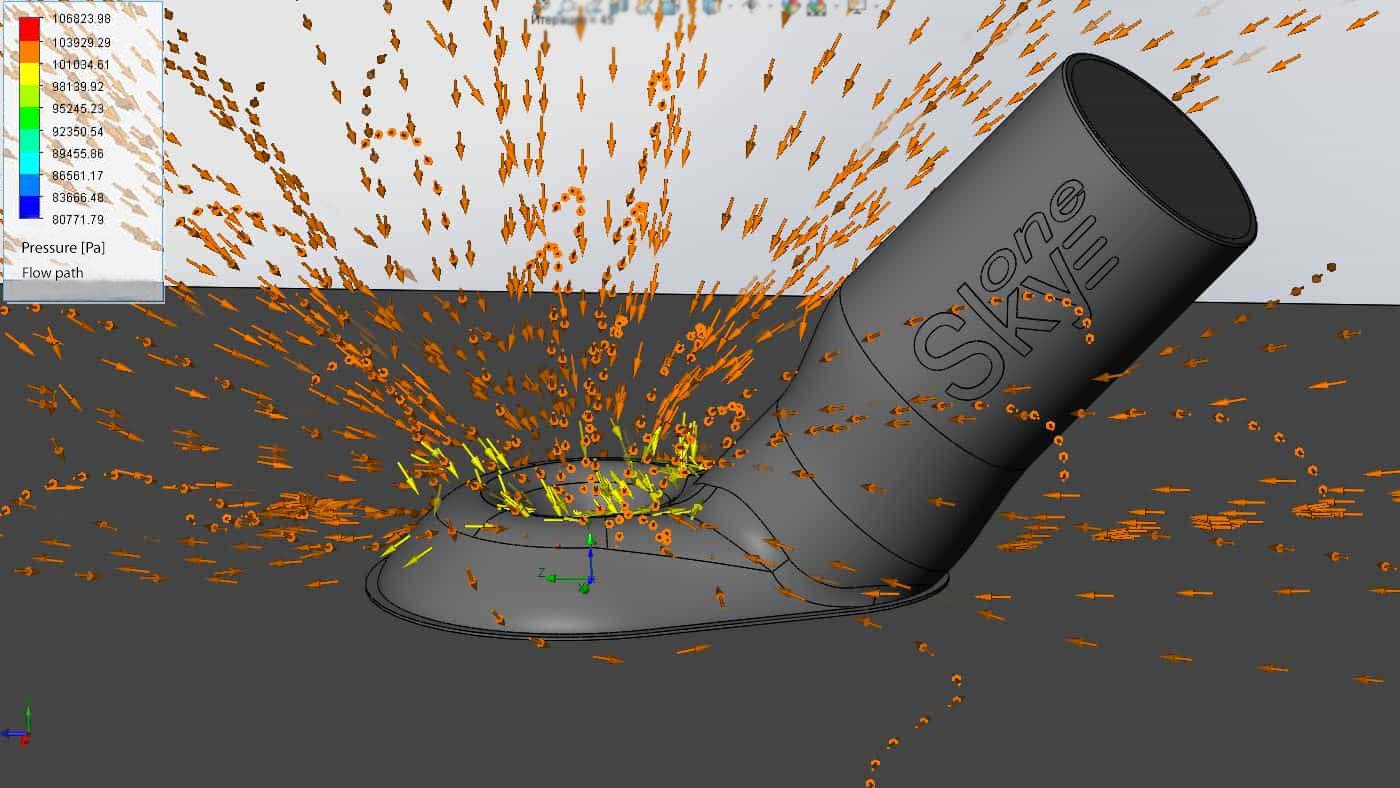
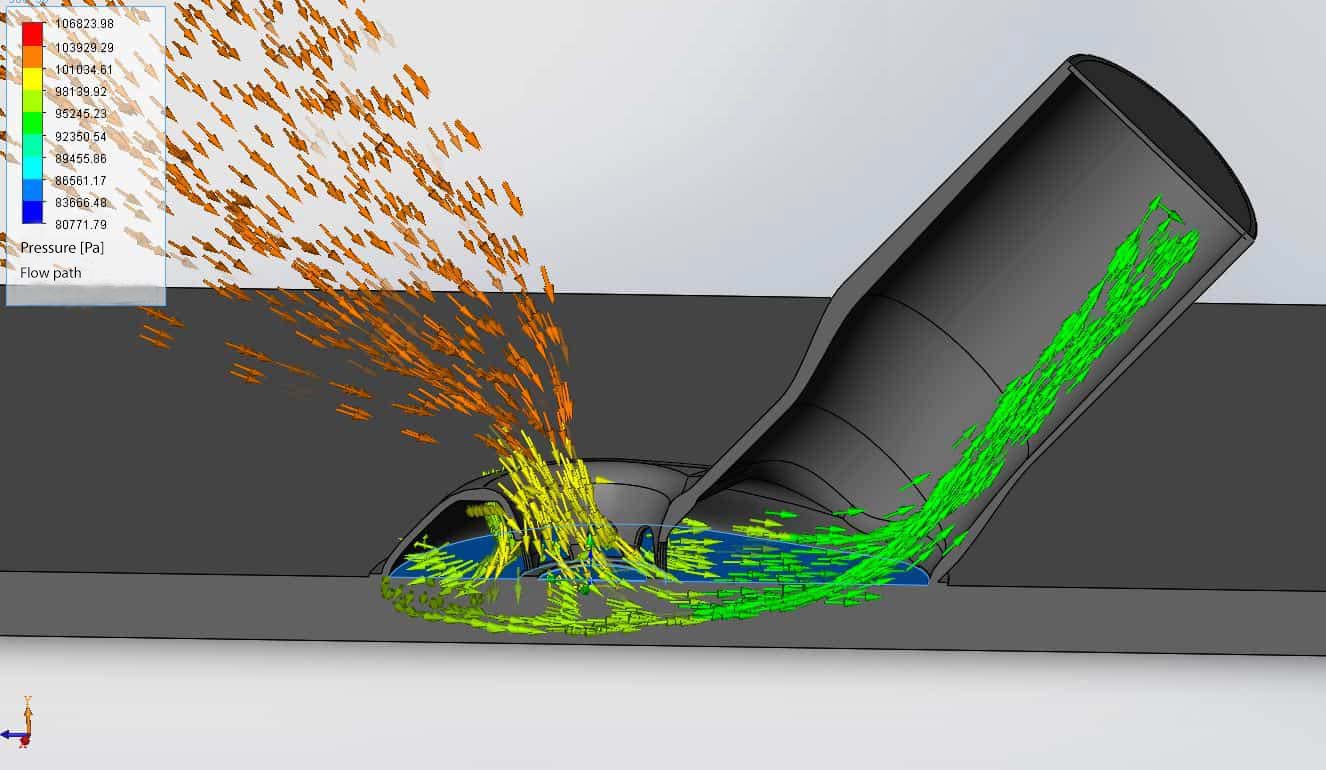
Now drive the model through a flow solver application. It is interesting to know the flow rate in the sucktion and underpressure area outside and inside the nozzle.
The average value of the flow rate in the drilling zone is about 70 km/h. It is enough to catch the dust form the drilling zone. Let's estimate the pressure.
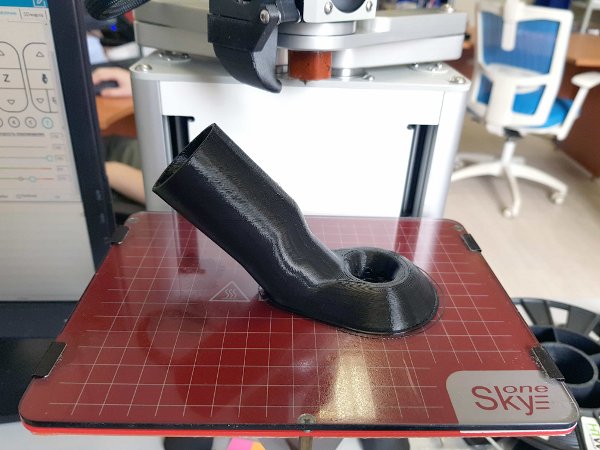
Average pressure value outside the nozzle we got 101.1 kPa, inside the nozzle - 95.4 kPa. Pressure difference is 5.7 kPa. This value is less, than was expected. Considering the surface area 32.7 cm2, we have 1.9 kgf force. Taking into account the filter wear and air inleakage asides, we will get about 1-1.5 kgf. Hope this would be enough. Let's print and test.
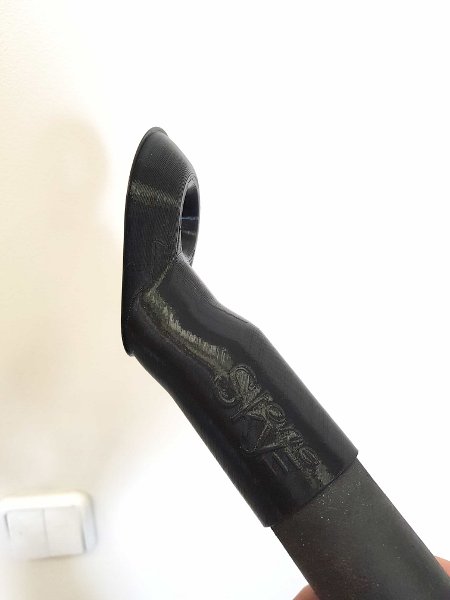
It works not bad. This nozzle was tested during furniture assembling - have got satisfied. But we will improve the accessory - increase the surface for better sticking.
